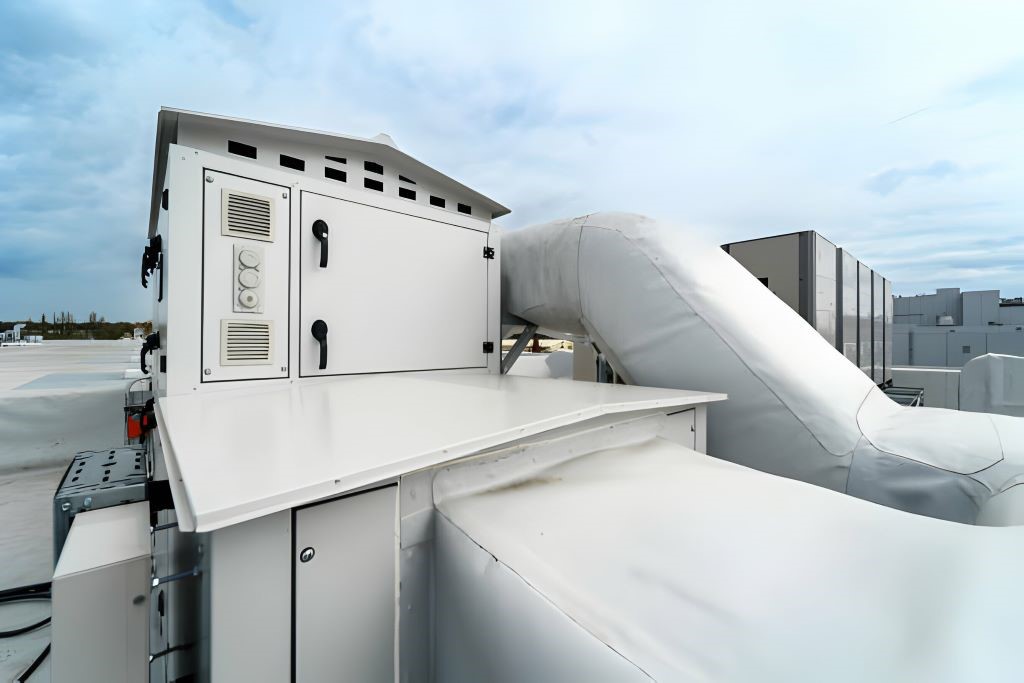
Maintaining a clean dryer vent is crucial for the efficient operation of your dryer and the safety of your home. While most people are aware of the importance of cleaning the lint trap after each load, many overlook the need to clean the dryer vent itself, especially when it’s located on the roof.
Over time, lint, debris, and even bird nests can accumulate in the vent, obstructing airflow and increasing the risk of a fire. In this comprehensive guide, we’ll walk you through the steps to clean your dryer vent on the roof safely and effectively.
Why Clean Your Dryer Vent on the Roof?
Cleaning the dryer vent on roof is essential for several reasons. Firstly, a clogged vent can restrict airflow, causing your dryer to work harder and less efficiently, resulting in longer drying times and higher energy bills. Secondly, lint buildup in the vent poses a serious fire hazard, as lint is highly flammable and can ignite when exposed to high temperatures.
Additionally, a blocked vent can lead to moisture buildup, creating an ideal environment for mold and mildew growth. Regular cleaning of the dryer vent on the roof is therefore essential for preventing dryer fires, improving dryer performance, and maintaining indoor air quality.
Tools and Materials Needed
Before you begin cleaning your dryer vent on the roof, gather the necessary tools and materials:
- Ladder
- Screwdriver
- Vent brush or vacuum attachment
- Gloves
- Safety goggles
- Dust mask
- Duct tape
- Trash bag or bucket
Steps to Clean the Dryer Vent on the Roof
Cleaning the dryer vent on the roof is crucial for maintaining the efficiency and safety of your dryer. Here are the steps to do it:
Step 1: Safety Precautions
Before climbing onto the roof, ensure you take necessary safety precautions. Wear non-slip shoes, and use a sturdy ladder placed on a level surface. Additionally, wear gloves, safety goggles, and a dust mask to protect yourself from debris and allergens.
Step 2: Access the Dryer Vent
Locate the dryer vent on the roof. It is usually a short pipe protruding from the roof or a vent cap with a cover. Use a screwdriver to remove the screws securing the vent cover in place. Set the screws aside safely to avoid losing them.
Step 3: Clear Debris from the Vent Opening
Inspect the vent opening for any visible debris, such as lint, leaves, or bird nests. Use a gloved hand or a brush to clear away any obstructions. Be careful not to push debris further into the vent.
Step 4: Clean the Vent Pipe
Insert a vent brush or vacuum attachment into the vent pipe to remove accumulated lint and debris. Work the brush or vacuum attachment gently but firmly through the vent, moving it back and forth to dislodge any blockages. If using a vacuum attachment, ensure it has a long hose to reach the full length of the vent pipe.
Step 5: Inspect and Reattach Vent Cover
After cleaning the vent pipe, inspect the vent cover for any damage or wear. Replace the cover if necessary, ensuring it fits securely over the vent opening. Use a screwdriver to reattach the cover, securing it in place with the screws removed earlier.
Step 6: Test the Dryer Vent
Once you’ve cleaned and reattached the vent cover, it’s time to test the dryer vent to ensure proper airflow. Turn on the dryer and go outside to observe the vent opening. You should feel a steady flow of warm air coming from the vent. If airflow is weak or nonexistent, there may still be a blockage in the vent that requires further cleaning.
Maintenance Tips
Regular maintenance of your dryer vent is crucial to ensure optimal performance and safety. One of the key steps in maintenance is regular cleaning, which helps prevent lint buildup and potential blockages. Using a specialized vent brush can effectively remove lint and debris, maintaining proper airflow.
Additionally, periodic inspections of the vent opening are essential to identify any obstructions and clear them promptly. It’s also important to keep nearby vegetation trimmed to prevent blockages.
Checking the condition of the vent cover ensures that it’s intact and functioning correctly, allowing for proper ventilation. By following these maintenance tips, you can extend the lifespan of your dryer vent system and reduce the risk of fire hazards.
To keep your dryer vent on the roof clean and free of debris, follow these maintenance tips:
- Clean the lint trap after every load of laundry.
- Inspect the dryer vent on the roof periodically for signs of blockage or damage.
- Trim any overhanging branches or foliage near the vent to prevent debris buildup.
- Schedule annual professional dryer vent cleaning to ensure thorough maintenance.
Conclusion
Cleaning your dryer vent on the roof is a simple yet essential task that can help prevent dryer fires, improve dryer performance, and maintain indoor air quality. By following the steps outlined in this guide and taking regular maintenance precautions, you can ensure your dryer operates safely and efficiently for years to come. Don’t overlook the importance of dryer vent maintenance—your safety and peace of mind depend on it.

